

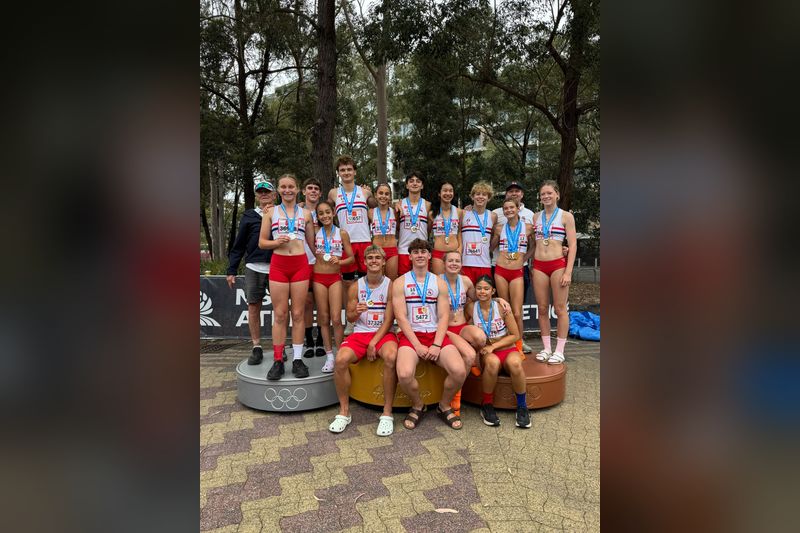
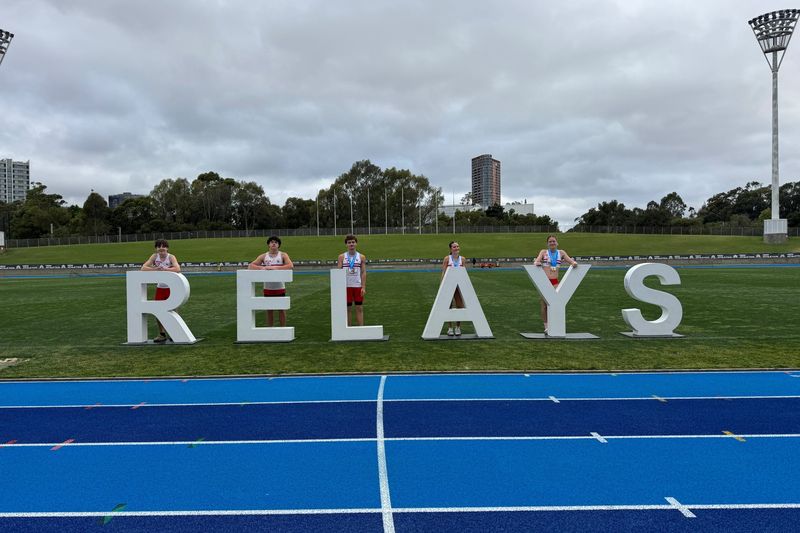
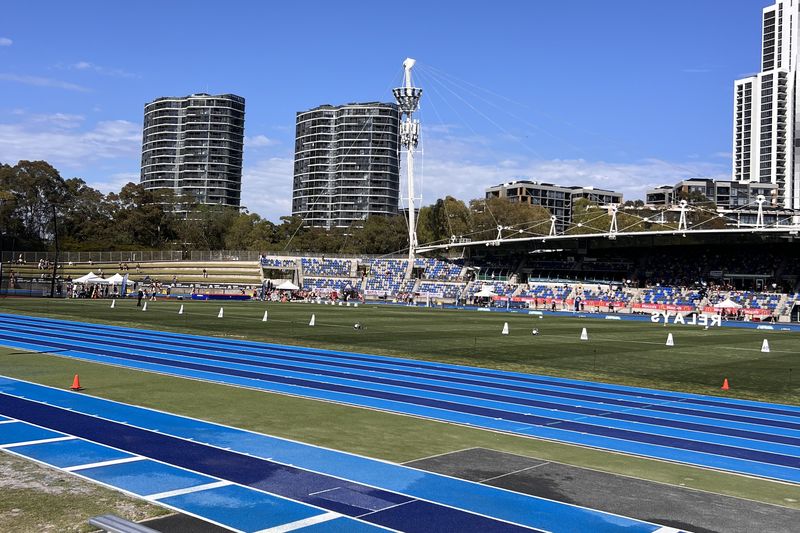
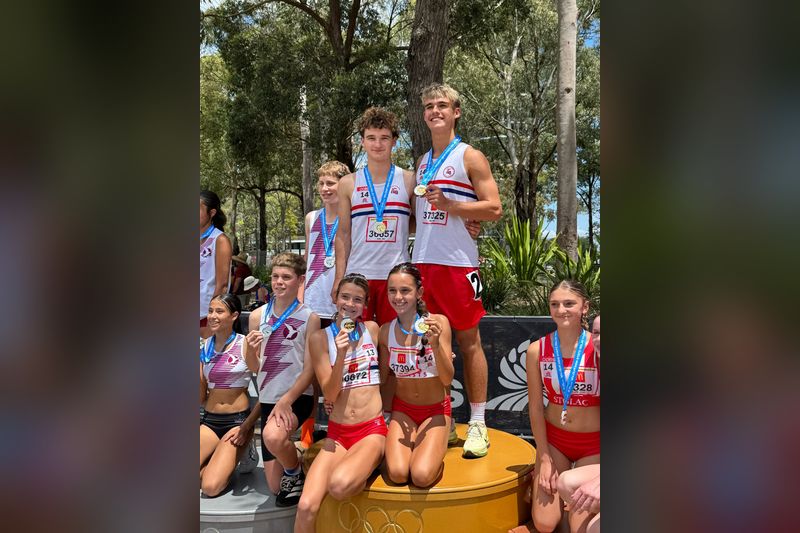
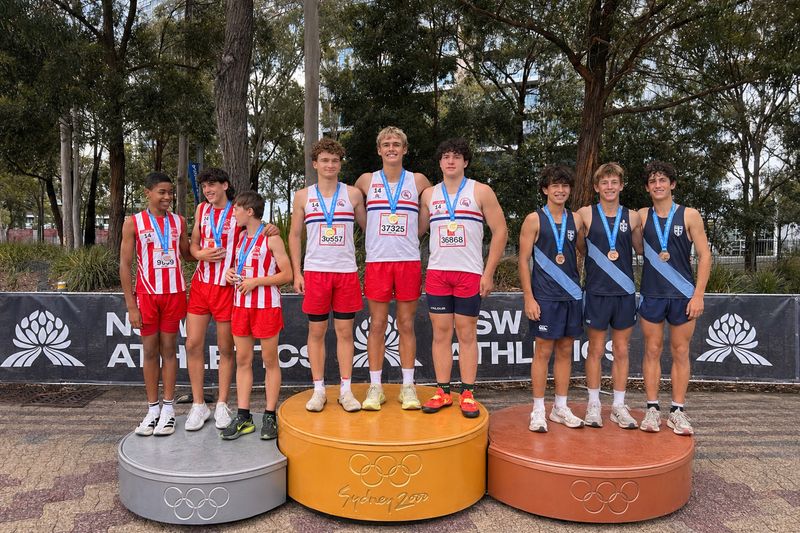
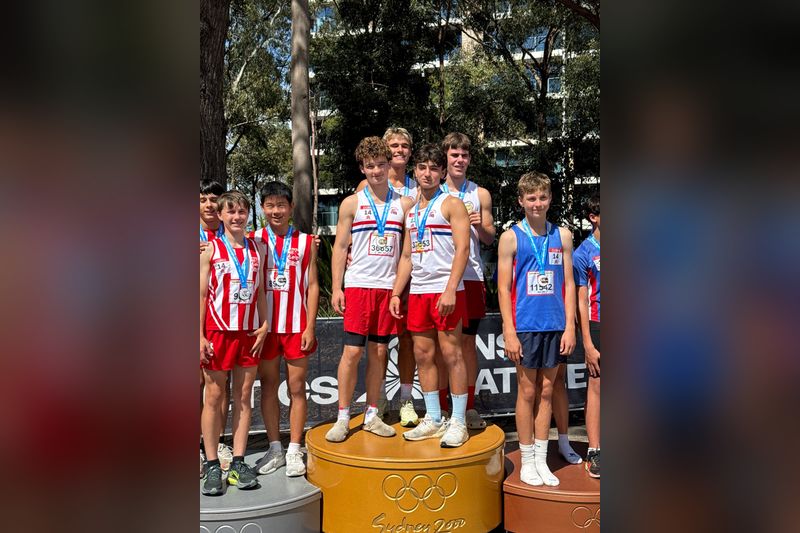
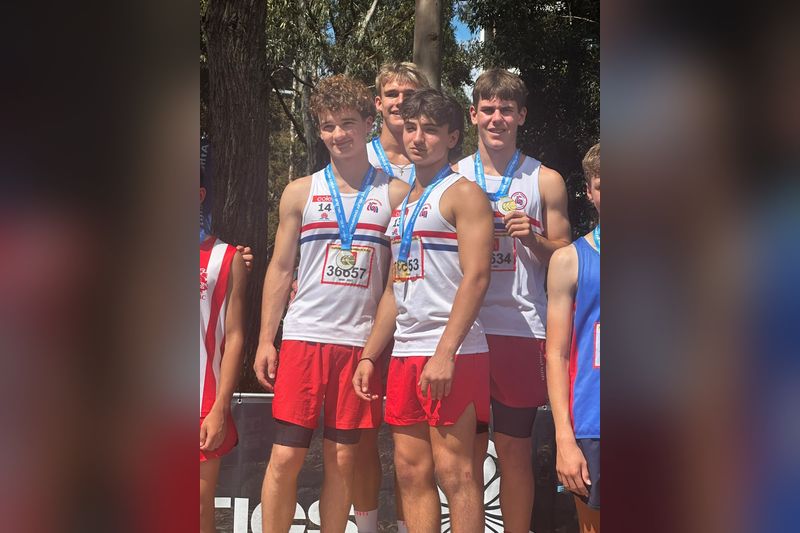
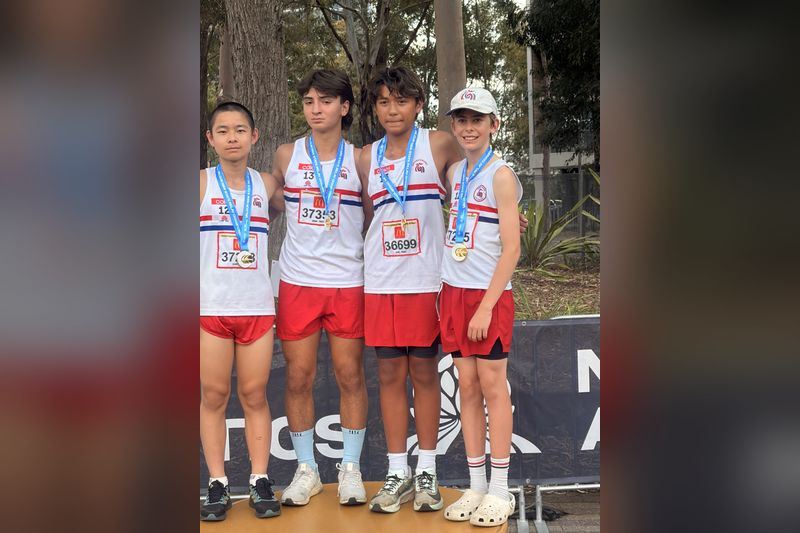
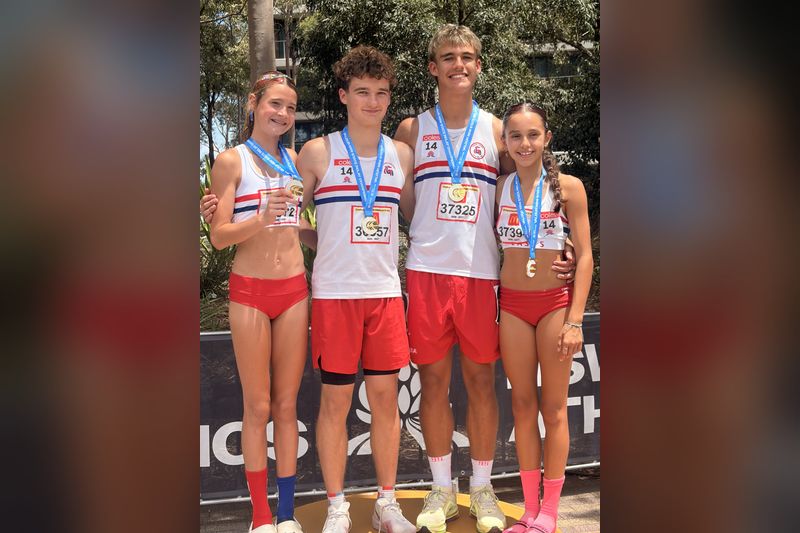
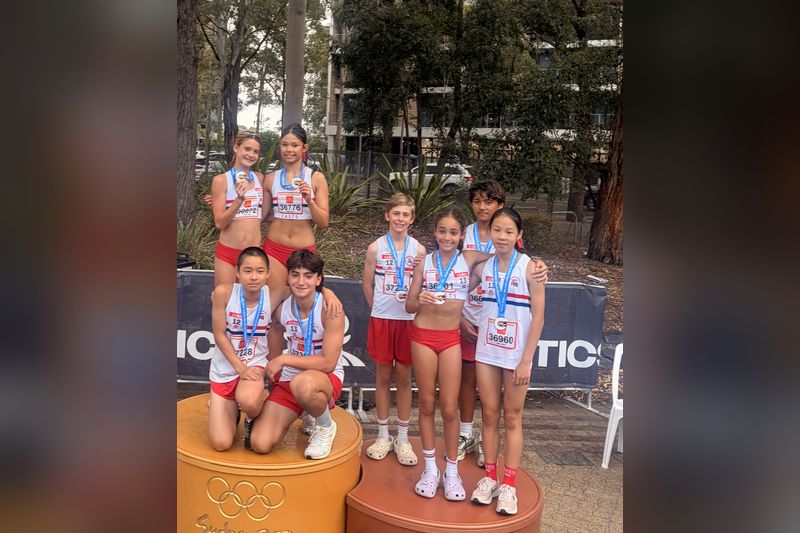
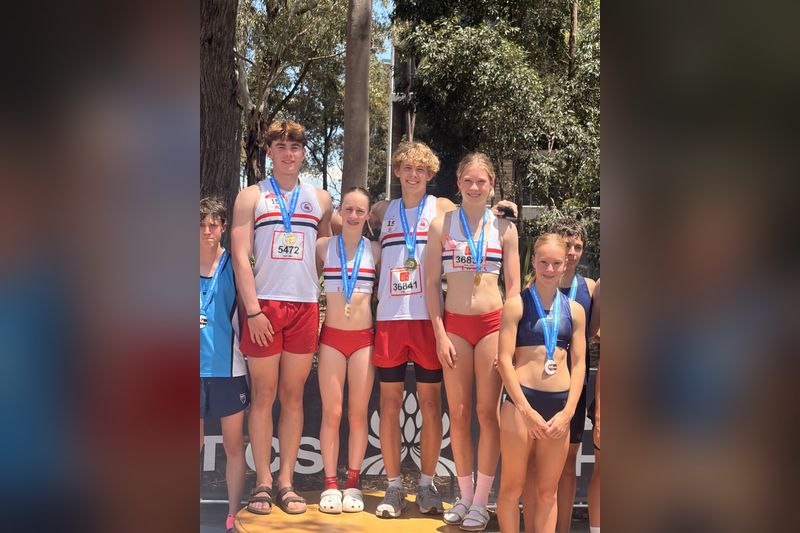
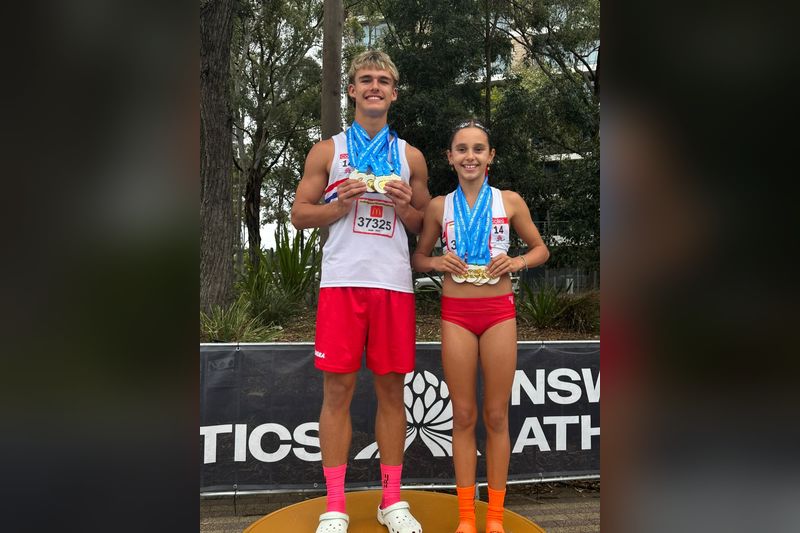
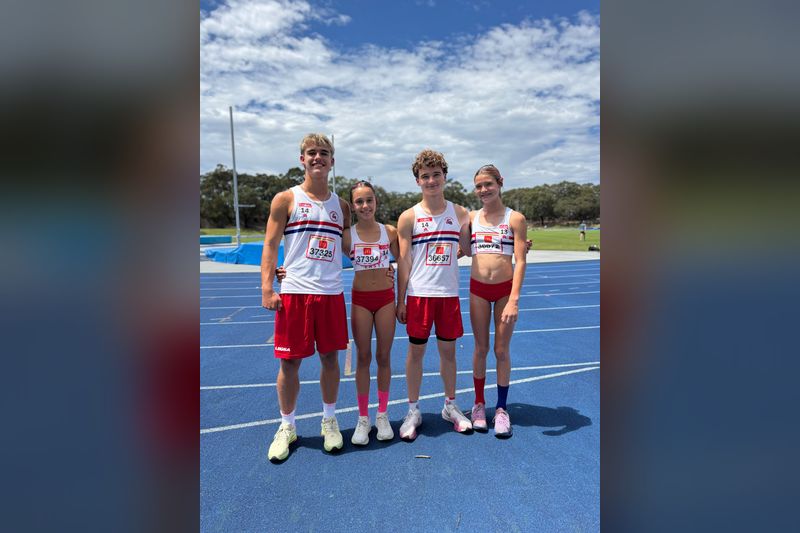
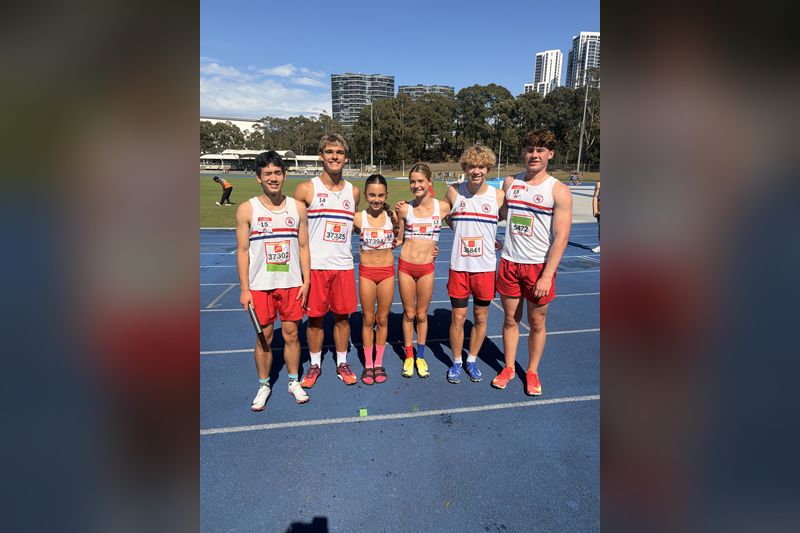
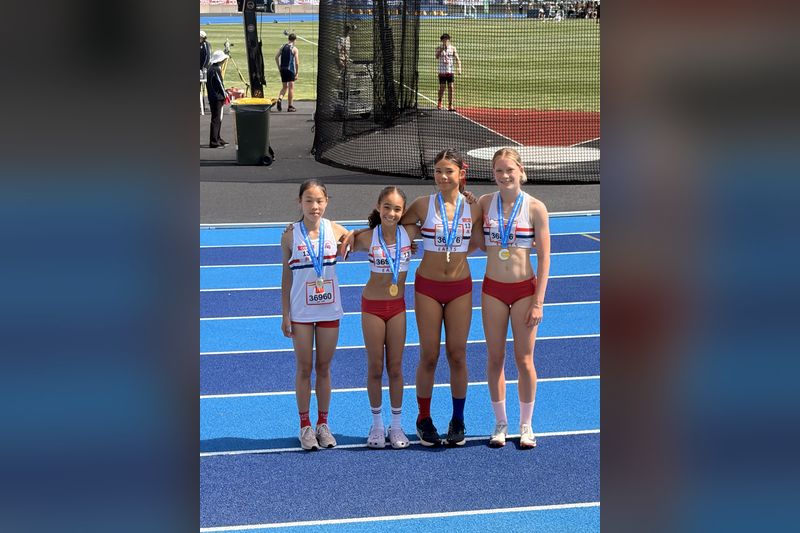
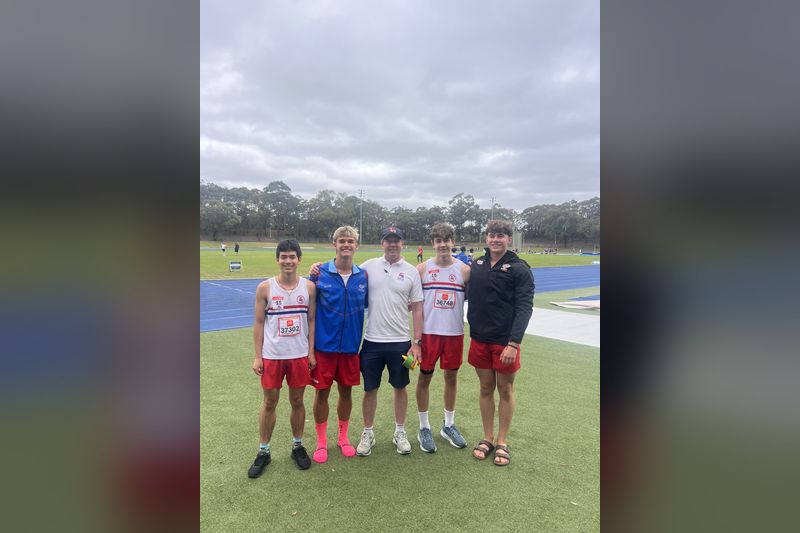
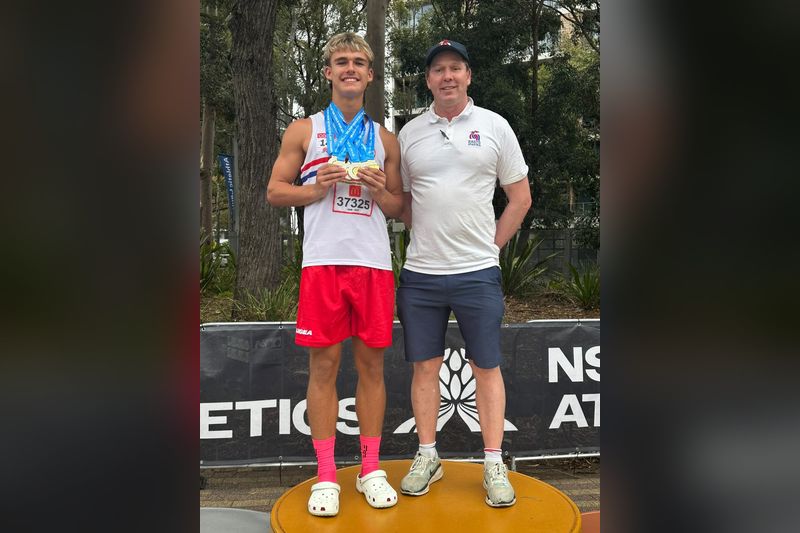
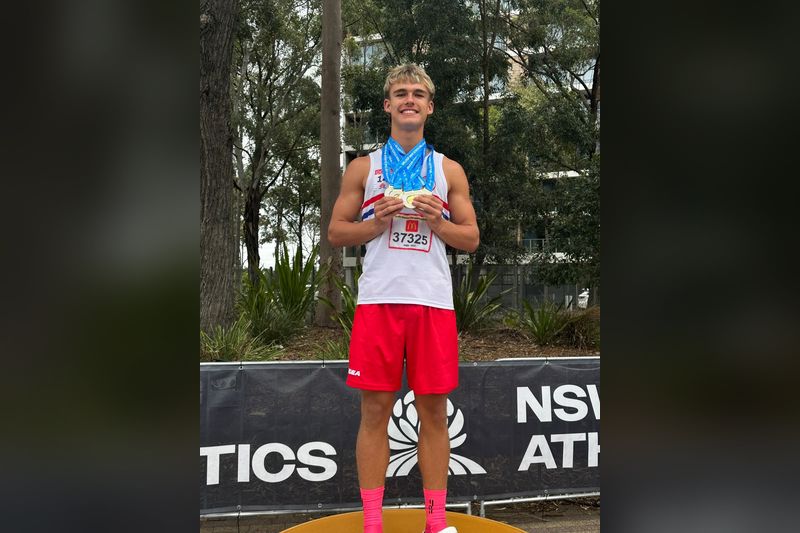
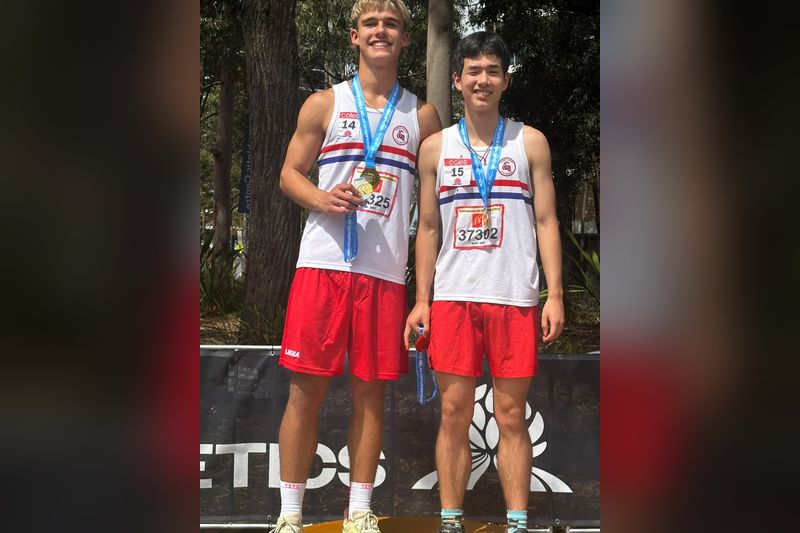
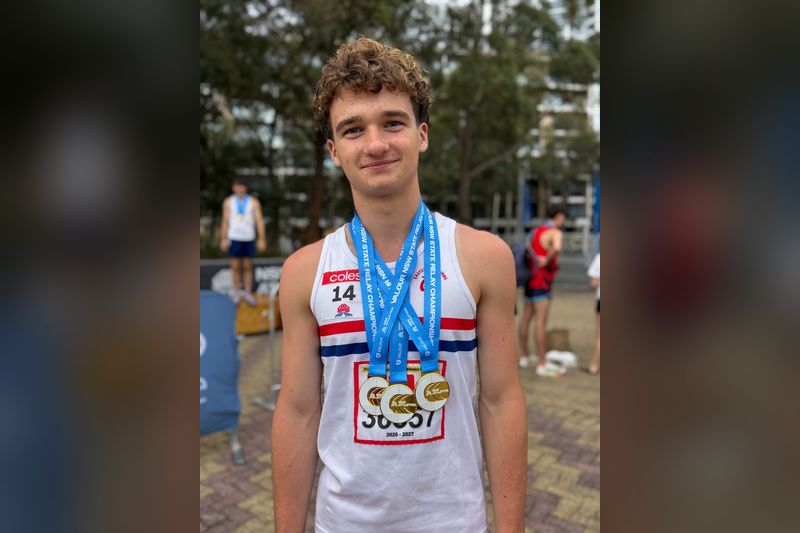
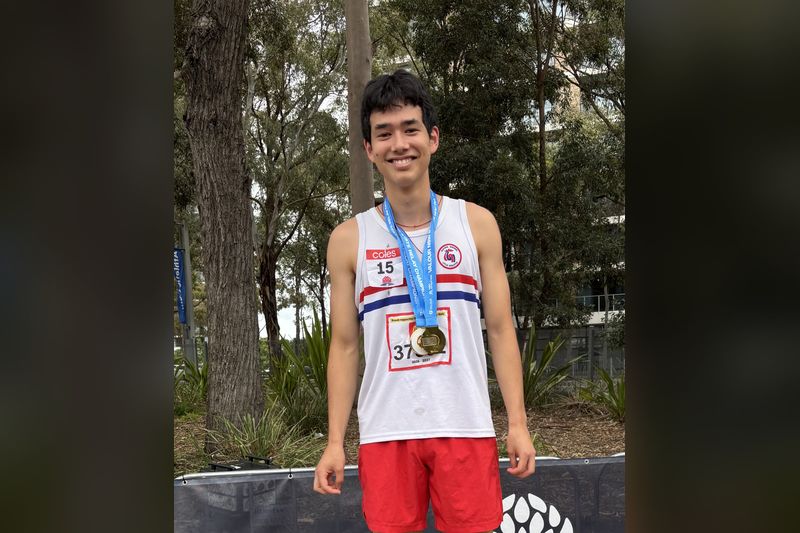
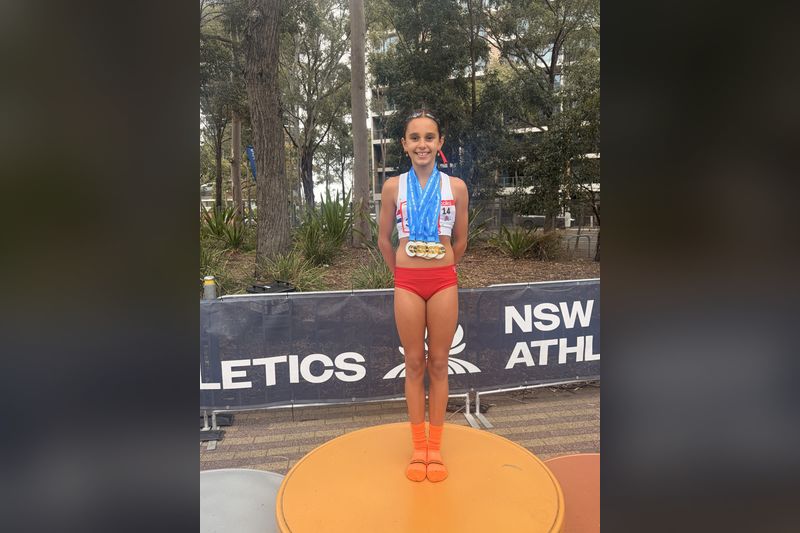
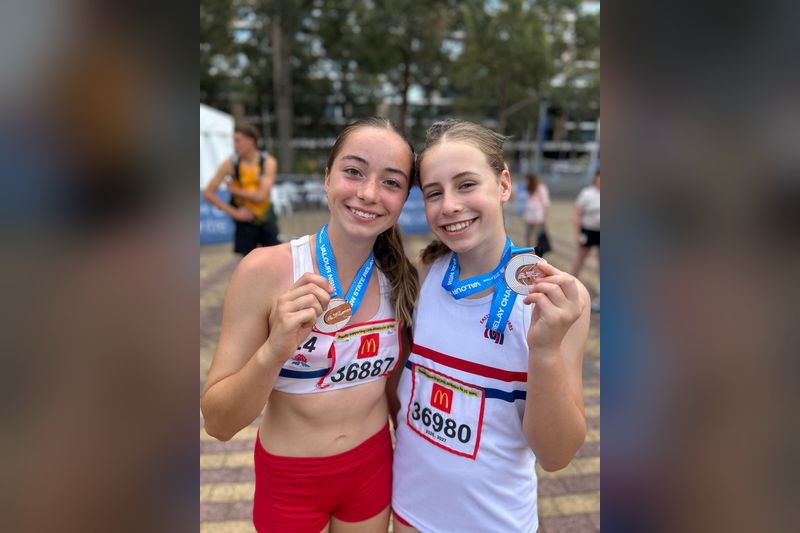
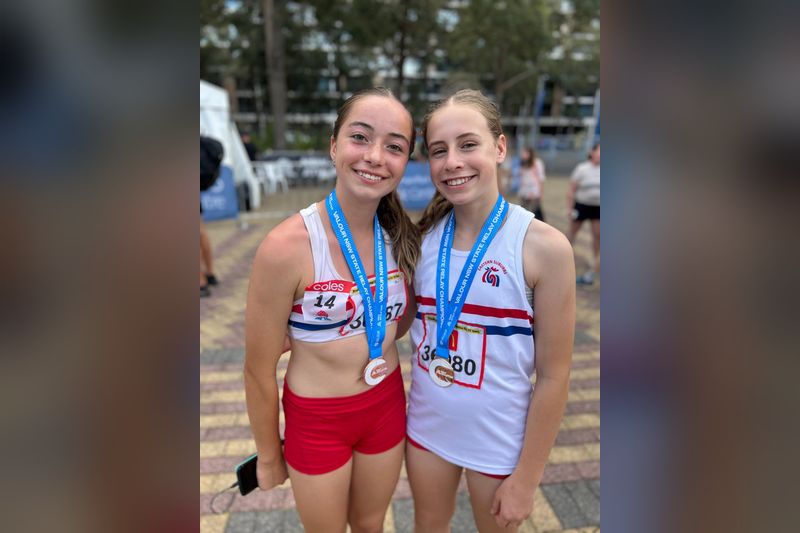
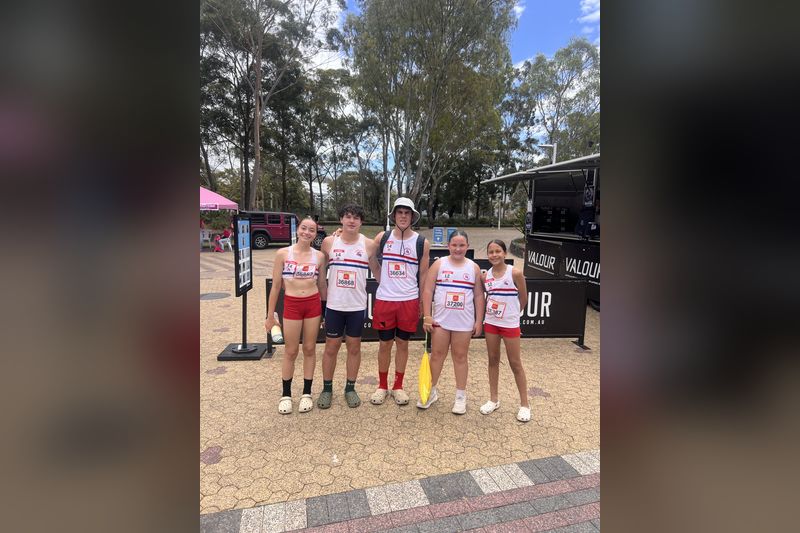
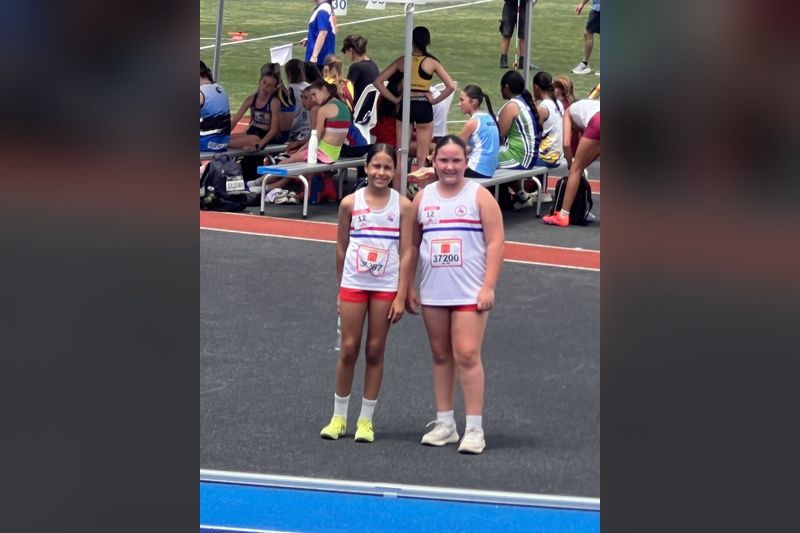
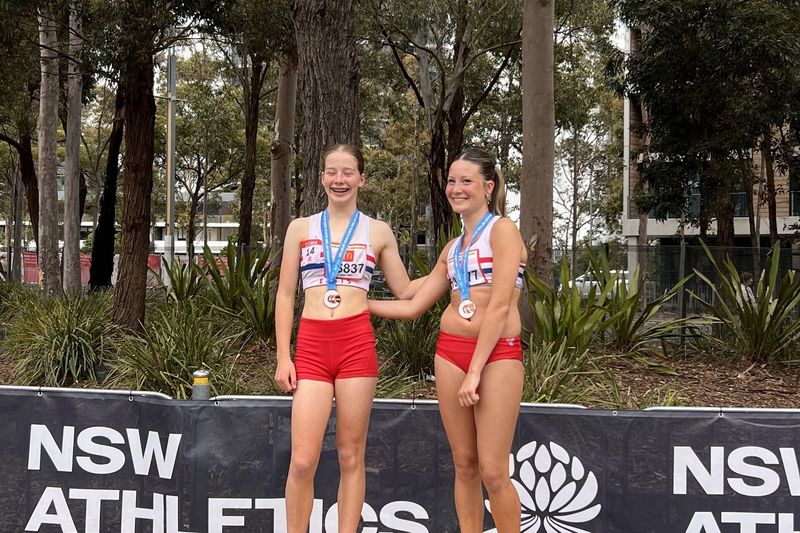
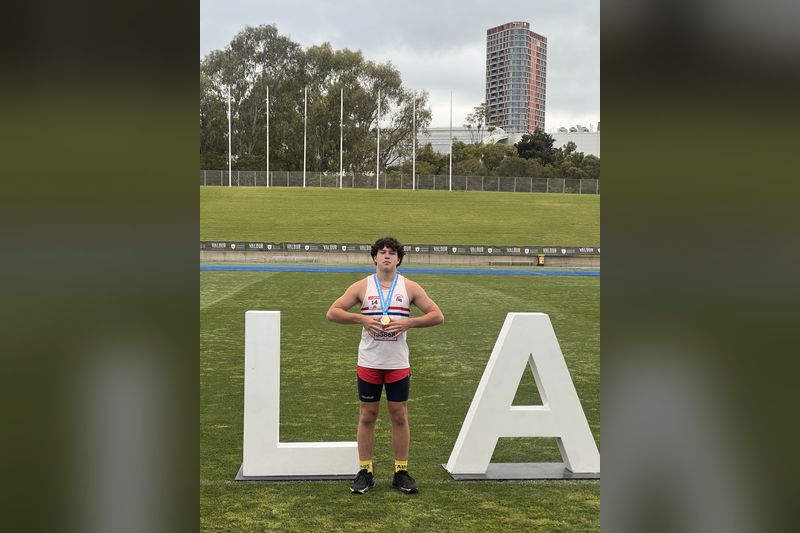
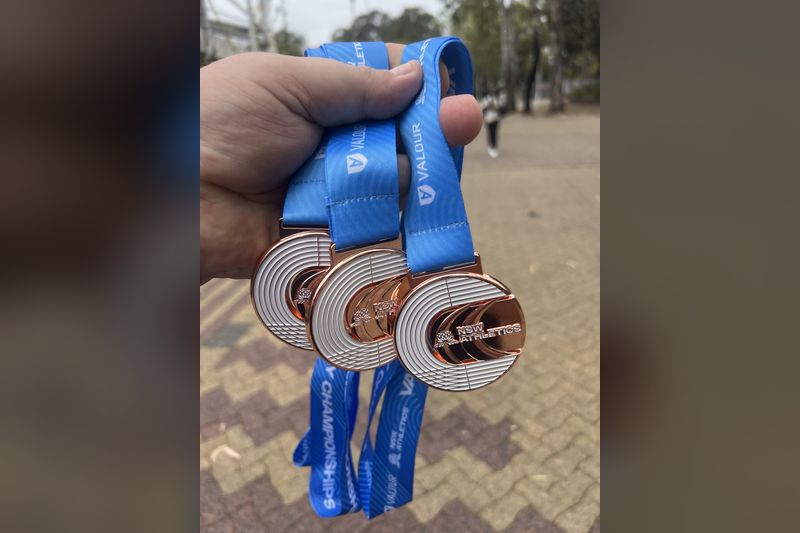
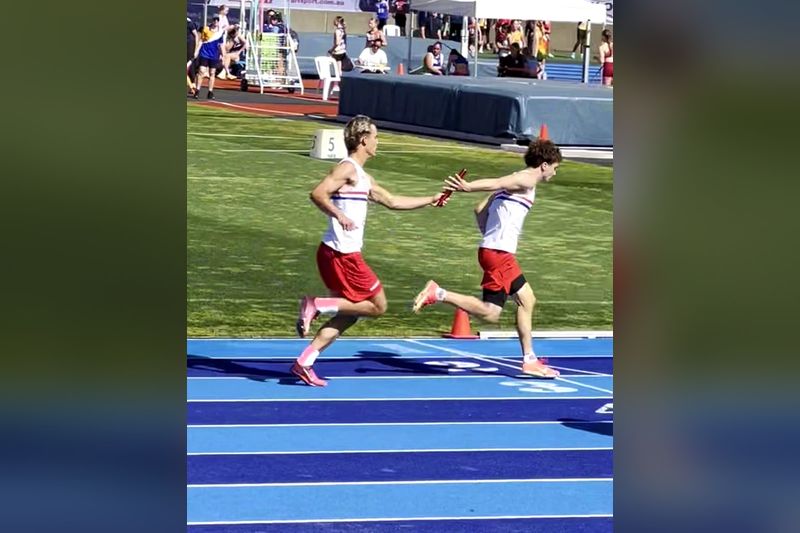
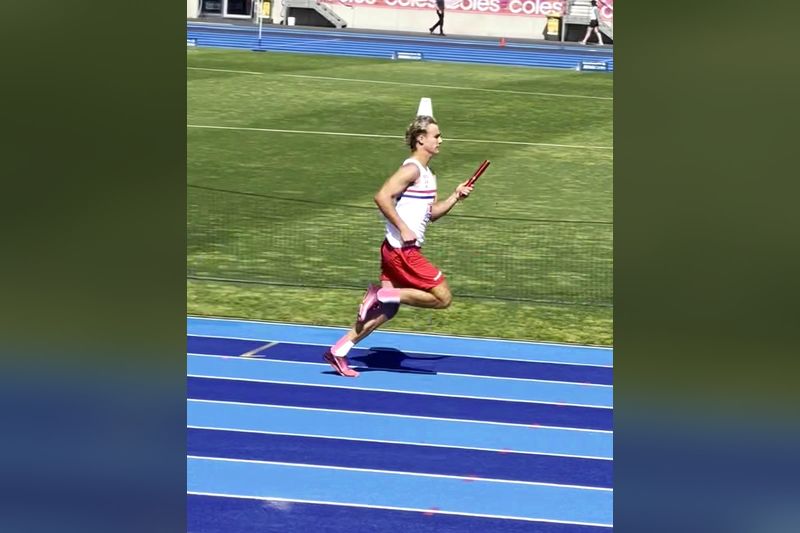
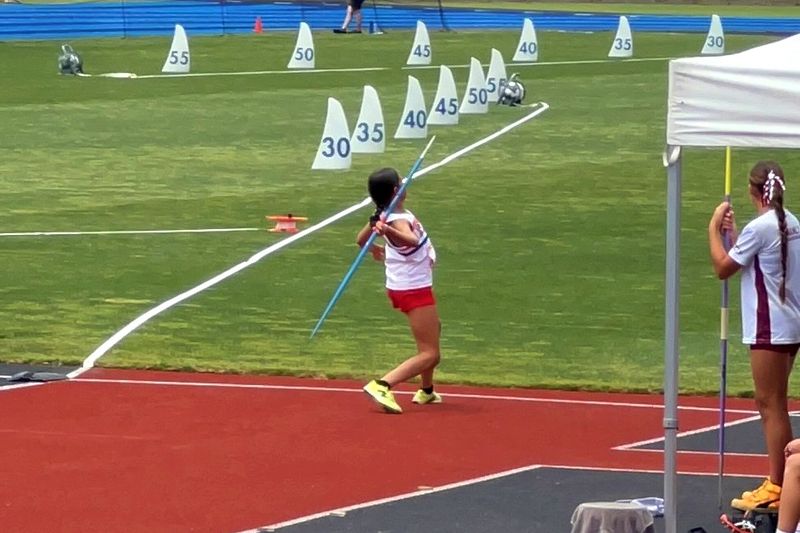
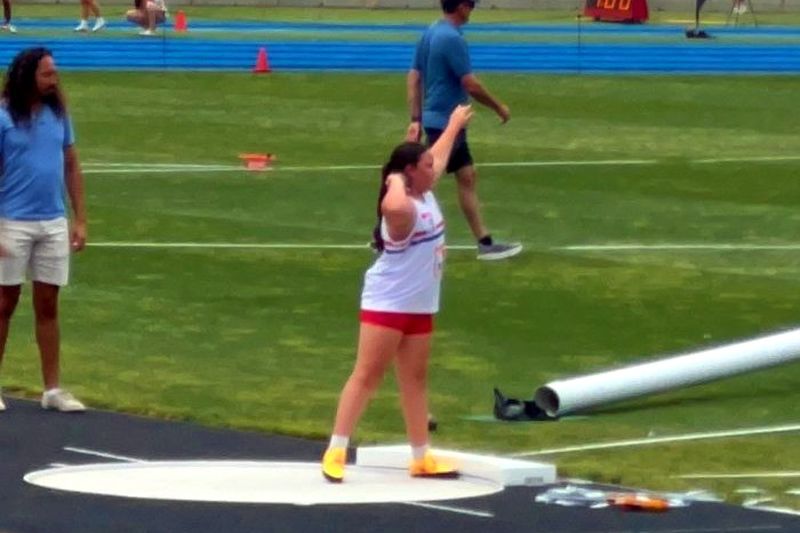
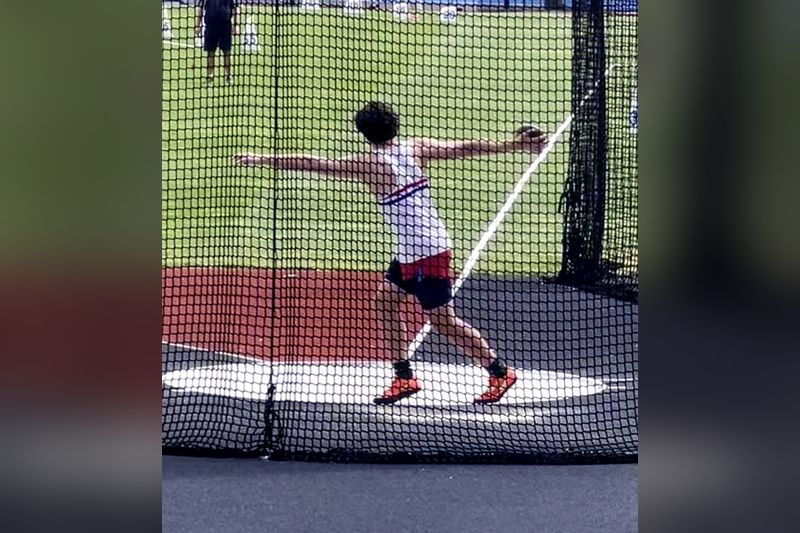
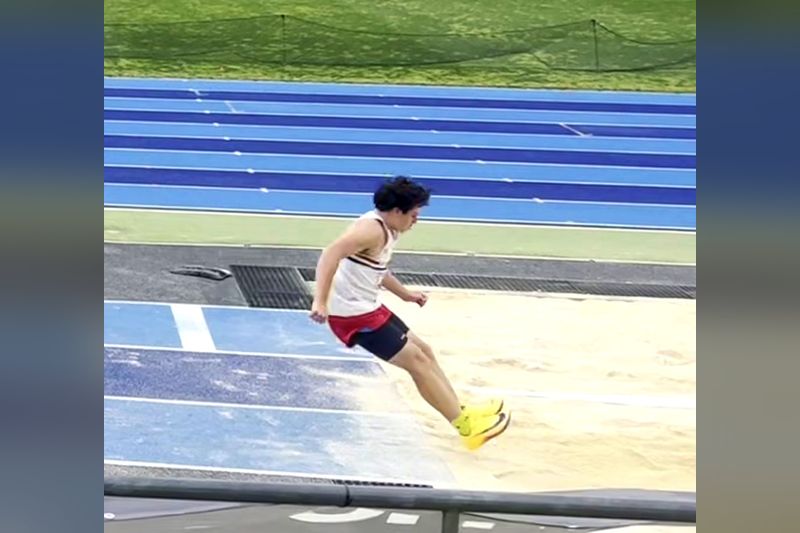
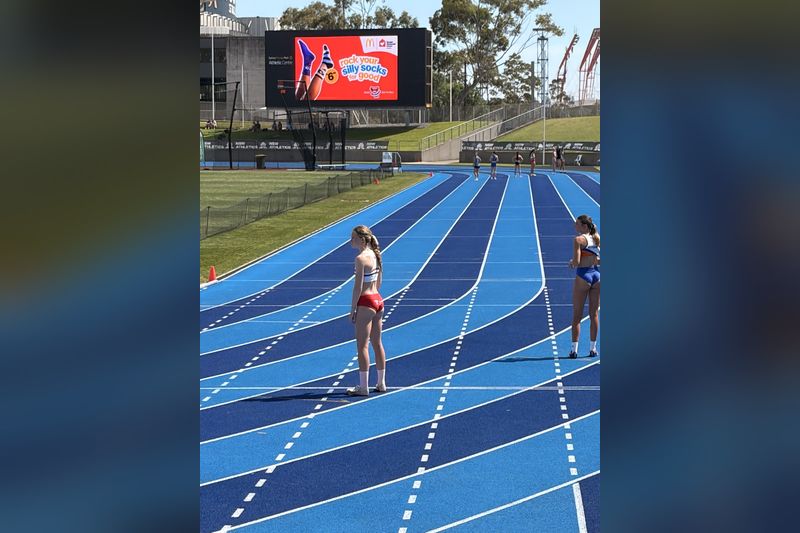
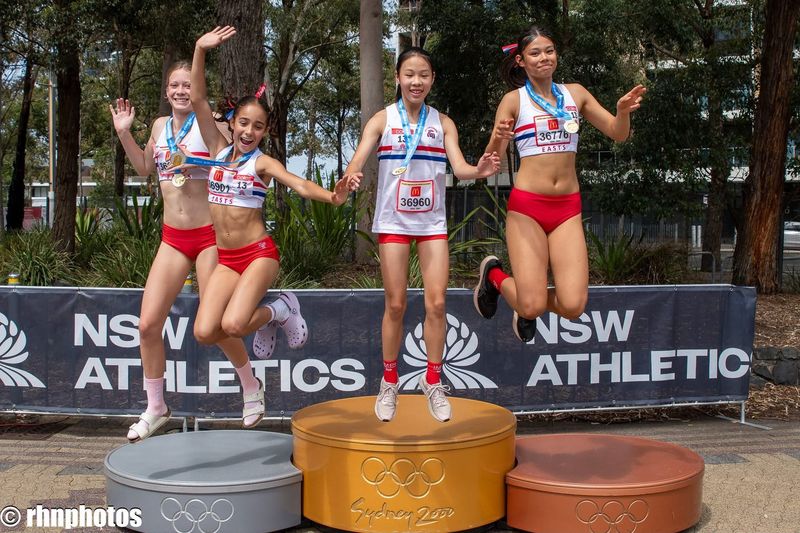
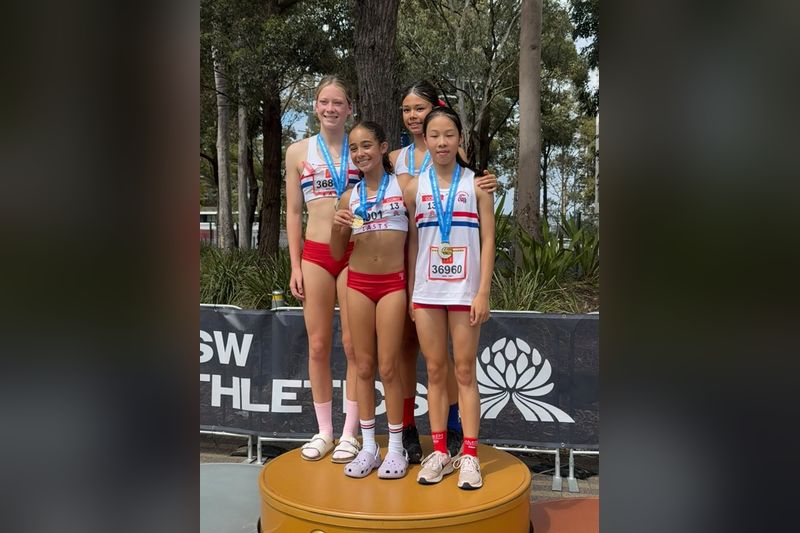
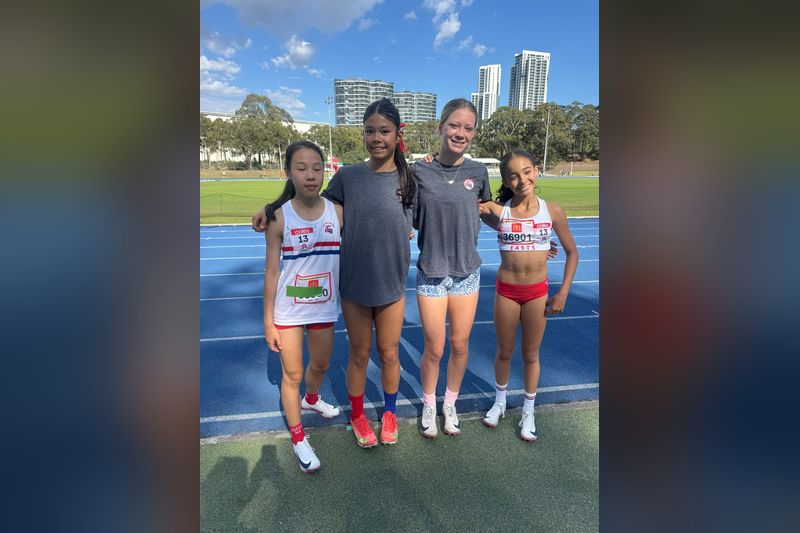
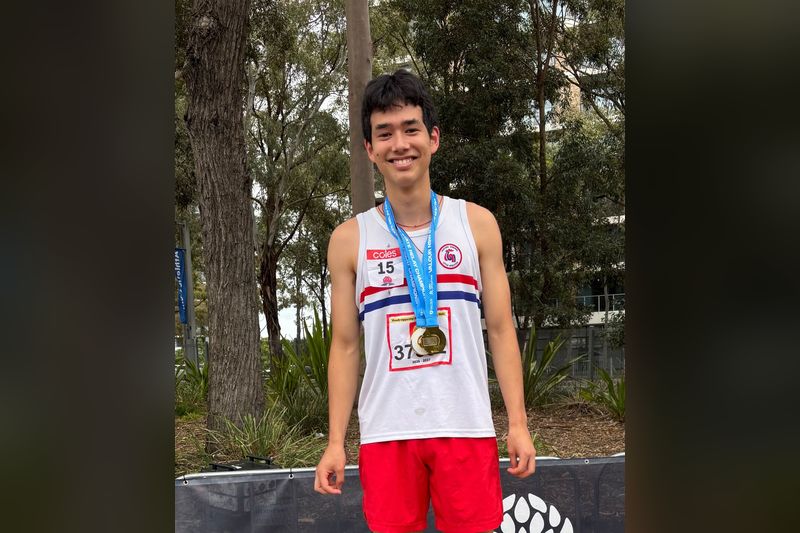
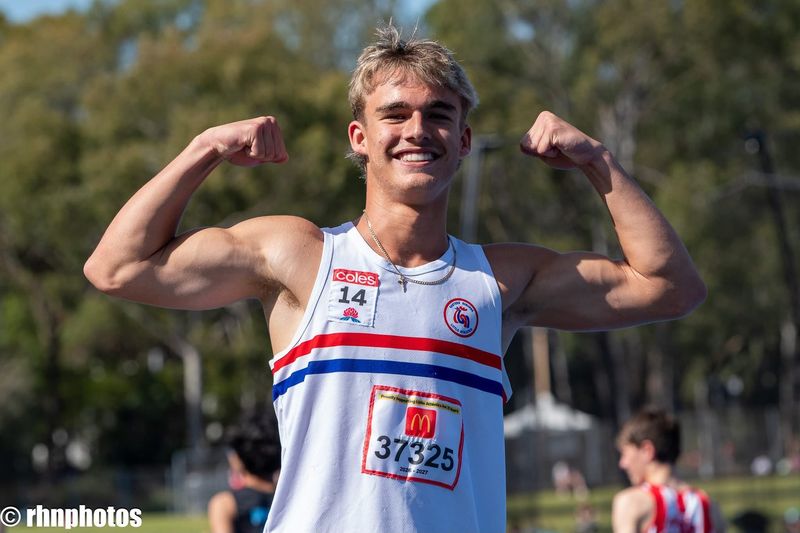
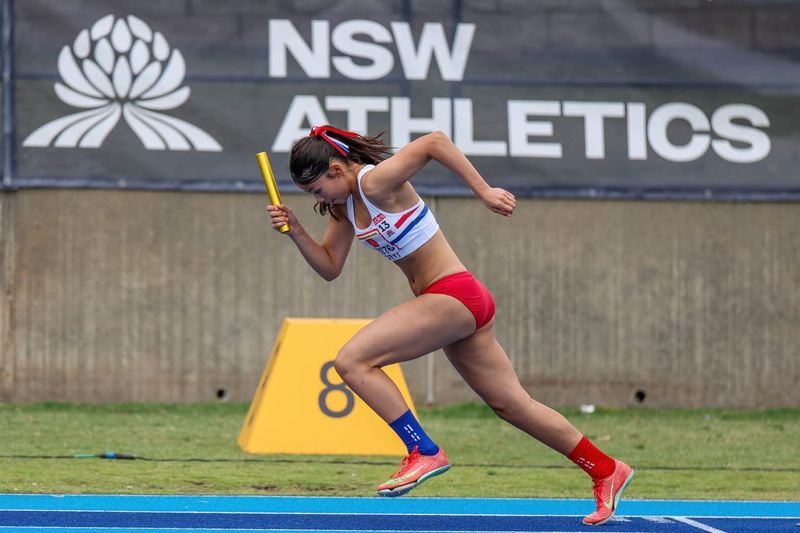
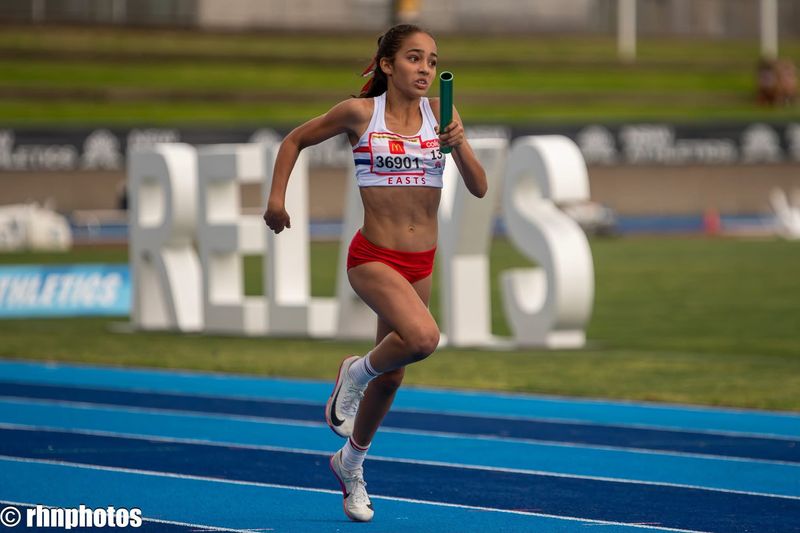
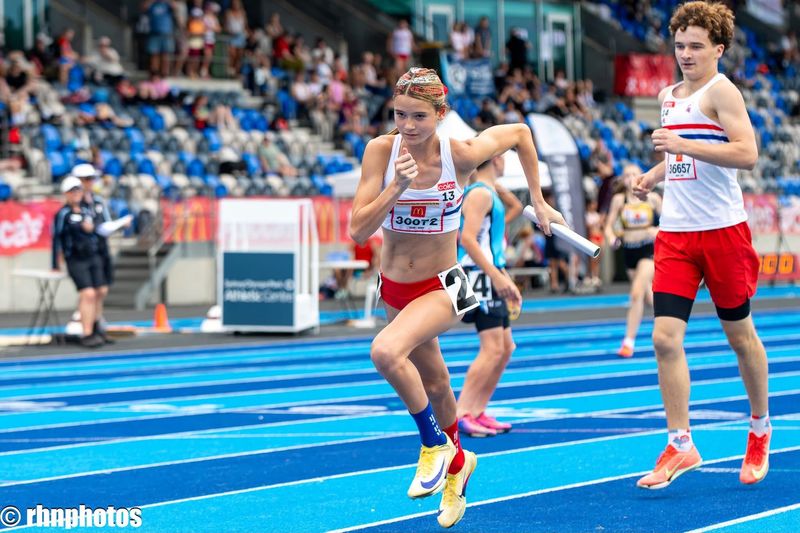
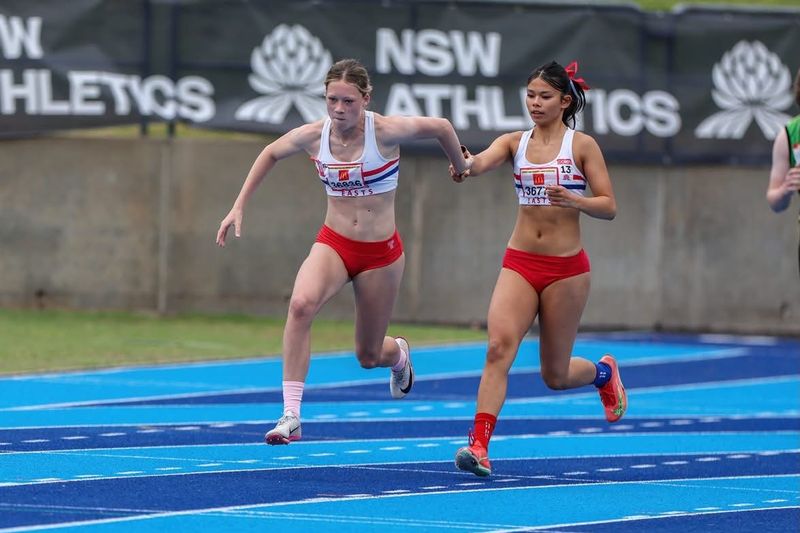
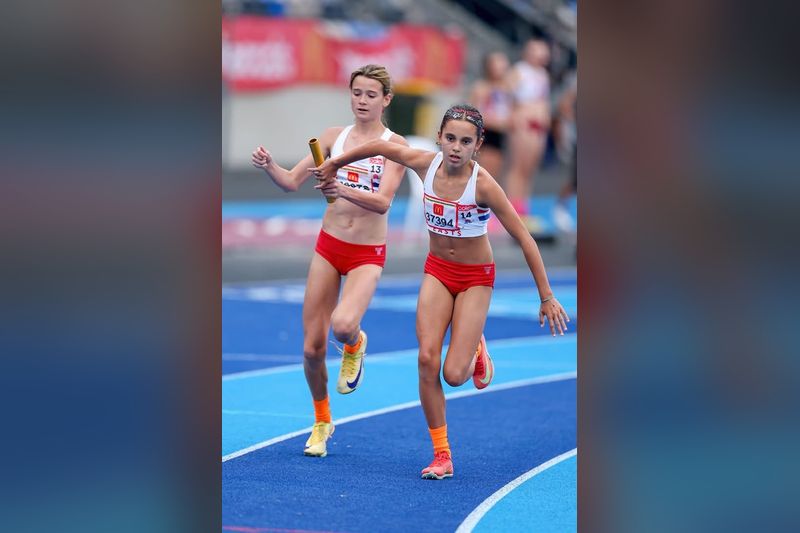
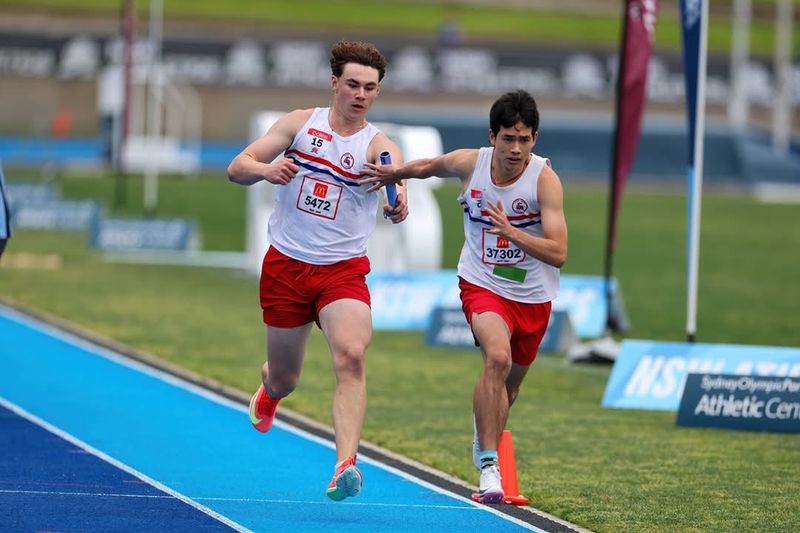
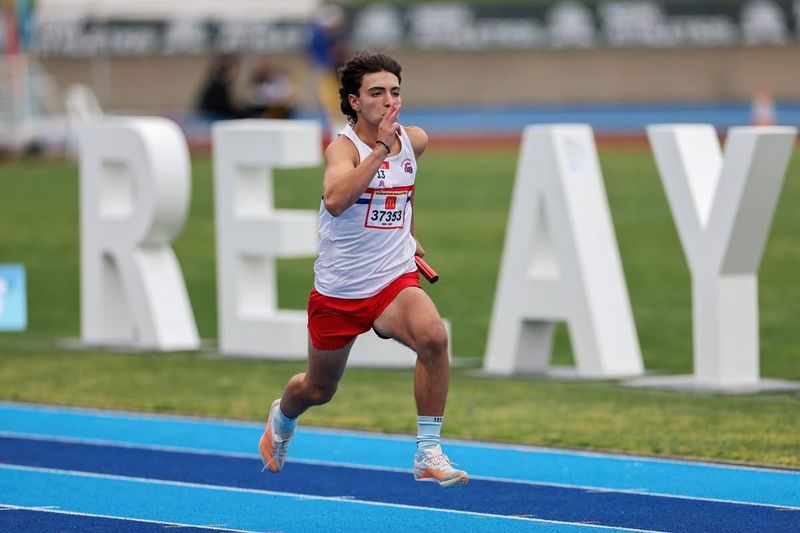
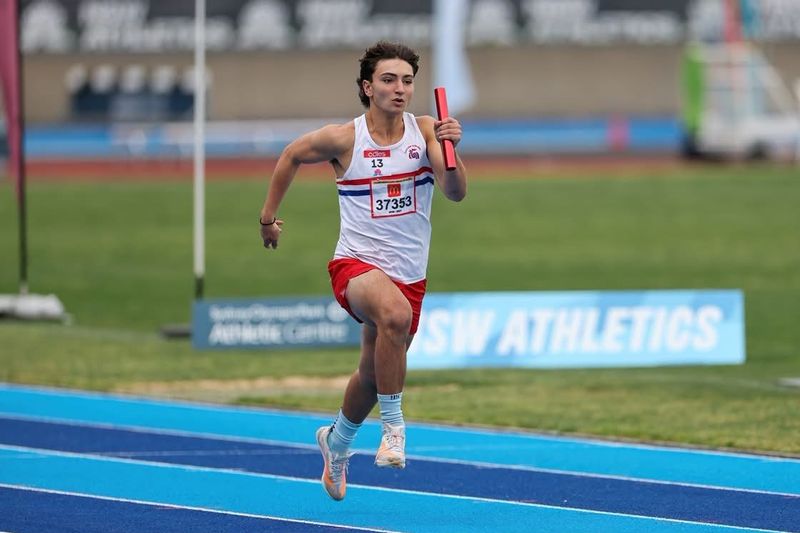
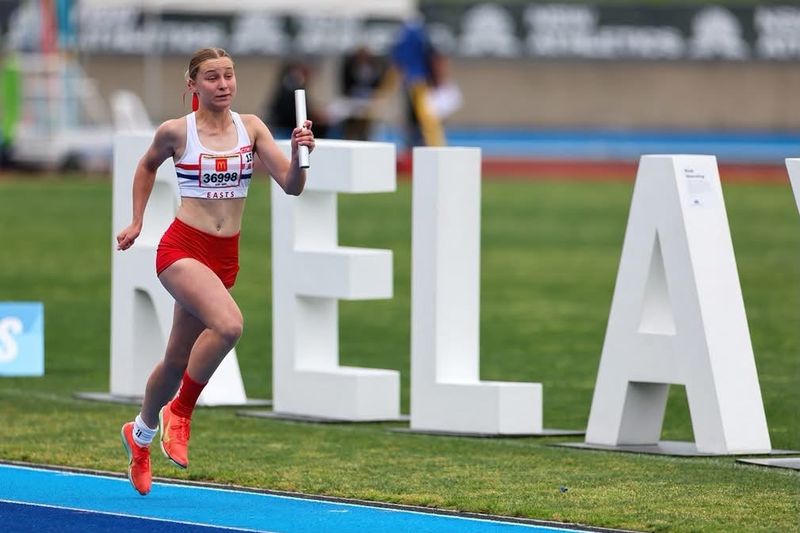
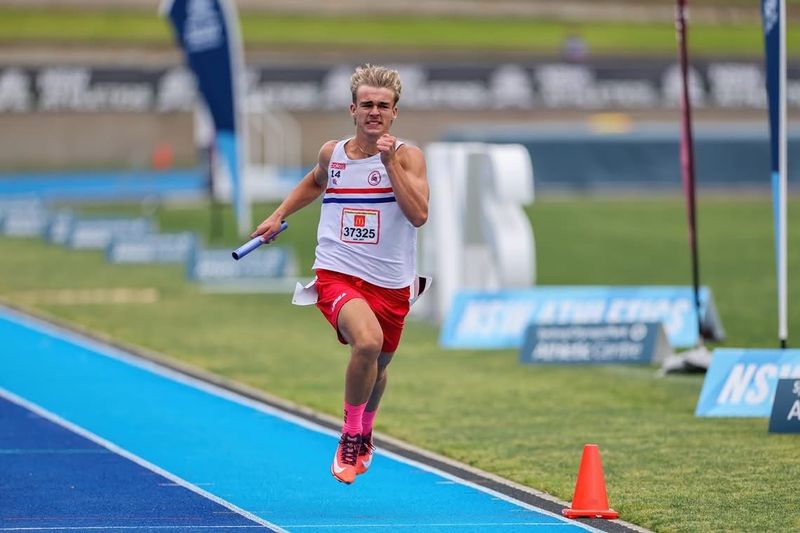
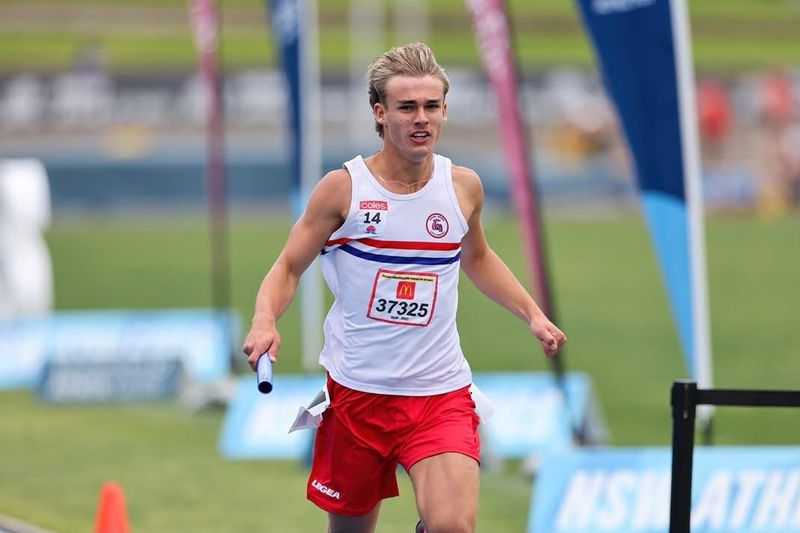
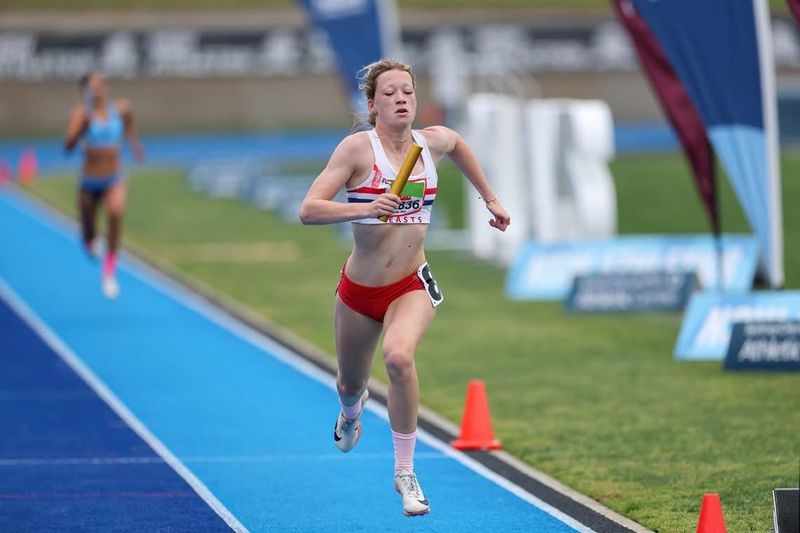
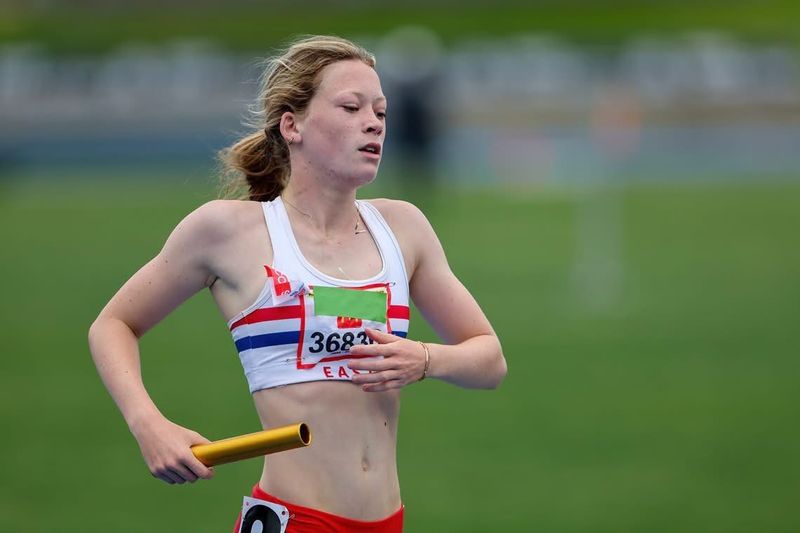
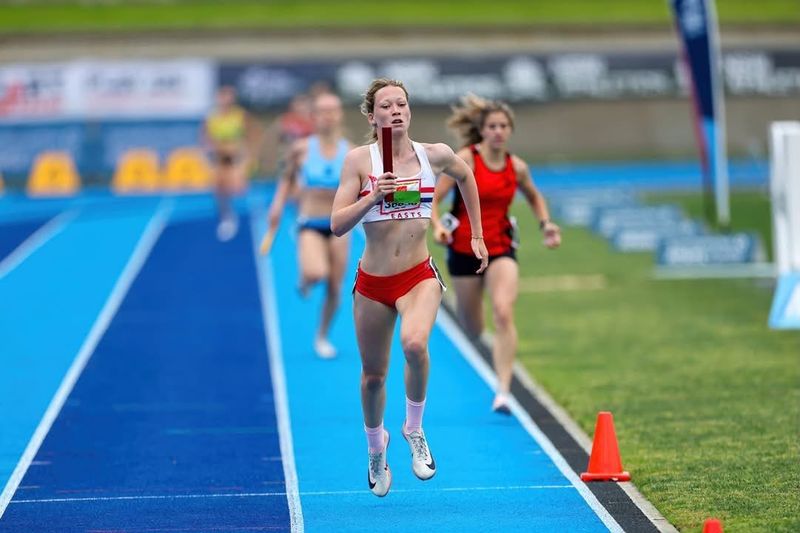
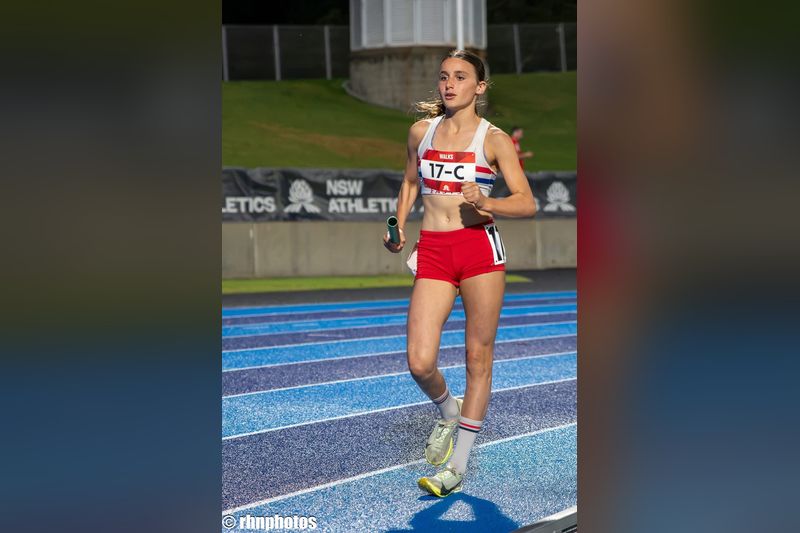
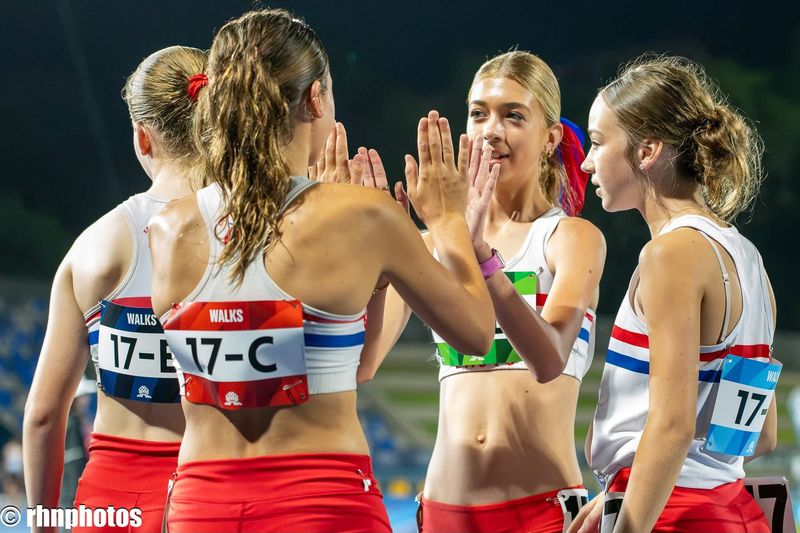
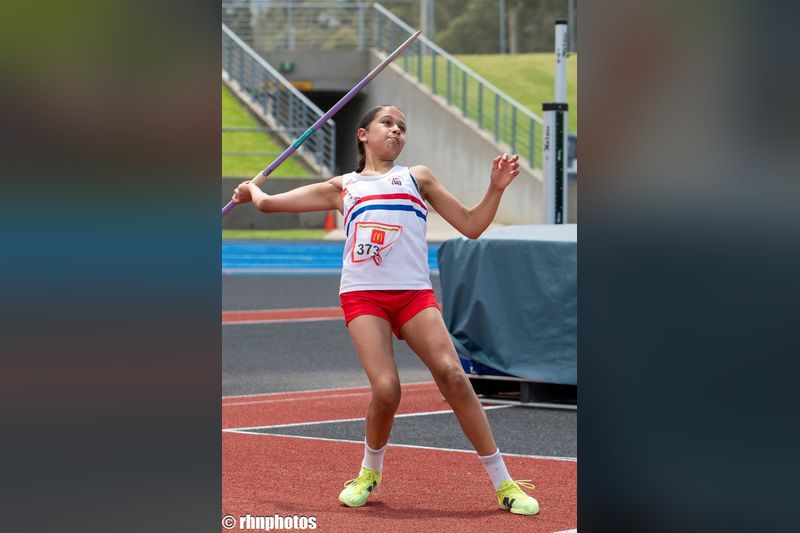
Photos from the NSW Valour State Relays (13s and over) at Sydney Olympic Park, 13 to 15 November 2026. Easts won 20 of the 21 relays we entered, and two teams may have set new meet records (pending confirmation from NSW Athletics). Read the full results. Click any photo to open it full size, then use Previous and Next to move through the gallery, or Back to gallery to return.
 |
 |
 |
 |
 |
 |
 |
 |
 |
 |
 |
 |
 |
 |
 |
 |
 |
 |
 |
 |
 |
 |
 |
 |
 |
 |
 |
 |
 |
 |
 |
 |
 |
 |
 |
 |
 |
 |
 |
 |
 |
 |
 |
 |
 |
 |
 |
 |
 |
 |
 |
 |
 |
 |
 |
 |
 |
 |
Full-size photos
‹ Previous | 1 of 58 | Next › | × Back to gallery
‹ Previous | 2 of 58 | Next › | × Back to gallery
‹ Previous | 3 of 58 | Next › | × Back to gallery
‹ Previous | 4 of 58 | Next › | × Back to gallery
‹ Previous | 5 of 58 | Next › | × Back to gallery
‹ Previous | 6 of 58 | Next › | × Back to gallery
‹ Previous | 7 of 58 | Next › | × Back to gallery
‹ Previous | 8 of 58 | Next › | × Back to gallery
‹ Previous | 9 of 58 | Next › | × Back to gallery
‹ Previous | 10 of 58 | Next › | × Back to gallery
‹ Previous | 11 of 58 | Next › | × Back to gallery
‹ Previous | 12 of 58 | Next › | × Back to gallery
‹ Previous | 13 of 58 | Next › | × Back to gallery
‹ Previous | 14 of 58 | Next › | × Back to gallery
‹ Previous | 15 of 58 | Next › | × Back to gallery
‹ Previous | 16 of 58 | Next › | × Back to gallery
‹ Previous | 17 of 58 | Next › | × Back to gallery
‹ Previous | 18 of 58 | Next › | × Back to gallery
‹ Previous | 19 of 58 | Next › | × Back to gallery
‹ Previous | 20 of 58 | Next › | × Back to gallery
‹ Previous | 21 of 58 | Next › | × Back to gallery
‹ Previous | 22 of 58 | Next › | × Back to gallery
‹ Previous | 23 of 58 | Next › | × Back to gallery
‹ Previous | 24 of 58 | Next › | × Back to gallery
‹ Previous | 25 of 58 | Next › | × Back to gallery
‹ Previous | 26 of 58 | Next › | × Back to gallery
‹ Previous | 27 of 58 | Next › | × Back to gallery
‹ Previous | 28 of 58 | Next › | × Back to gallery
‹ Previous | 29 of 58 | Next › | × Back to gallery
‹ Previous | 30 of 58 | Next › | × Back to gallery
‹ Previous | 31 of 58 | Next › | × Back to gallery
‹ Previous | 32 of 58 | Next › | × Back to gallery
‹ Previous | 33 of 58 | Next › | × Back to gallery
‹ Previous | 34 of 58 | Next › | × Back to gallery
‹ Previous | 35 of 58 | Next › | × Back to gallery
‹ Previous | 36 of 58 | Next › | × Back to gallery
‹ Previous | 37 of 58 | Next › | × Back to gallery
‹ Previous | 38 of 58 | Next › | × Back to gallery
‹ Previous | 39 of 58 | Next › | × Back to gallery
‹ Previous | 40 of 58 | Next › | × Back to gallery
‹ Previous | 41 of 58 | Next › | × Back to gallery
‹ Previous | 42 of 58 | Next › | × Back to gallery
‹ Previous | 43 of 58 | Next › | × Back to gallery
‹ Previous | 44 of 58 | Next › | × Back to gallery
‹ Previous | 45 of 58 | Next › | × Back to gallery
‹ Previous | 46 of 58 | Next › | × Back to gallery
‹ Previous | 47 of 58 | Next › | × Back to gallery
‹ Previous | 48 of 58 | Next › | × Back to gallery
‹ Previous | 49 of 58 | Next › | × Back to gallery
‹ Previous | 50 of 58 | Next › | × Back to gallery
‹ Previous | 51 of 58 | Next › | × Back to gallery
‹ Previous | 52 of 58 | Next › | × Back to gallery
‹ Previous | 53 of 58 | Next › | × Back to gallery
‹ Previous | 54 of 58 | Next › | × Back to gallery
‹ Previous | 55 of 58 | Next › | × Back to gallery
‹ Previous | 56 of 58 | Next › | × Back to gallery
‹ Previous | 57 of 58 | Next › | × Back to gallery
‹ Previous | 58 of 58 | Next › | × Back to gallery
Some of these photos were provided by Fred Etter (@fred_etter) and @rhnphotos. Thank you!
 .